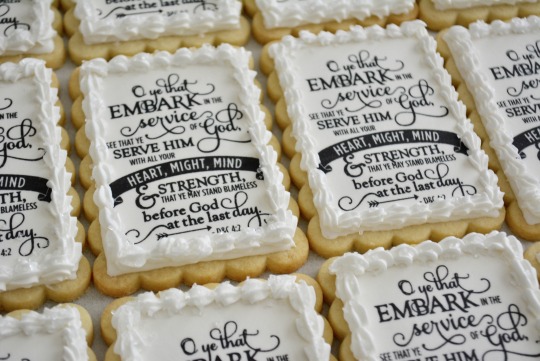
How to apply an edible image to a royal icing sugar cookie
Let's talk about edible images, frosting sheets or sugar sheets. Whatever you like to call them, they are made of starches and sugars and printed on edible paper with edible food colors. They can be used on cookies, cakes, fondant, royal icing, even chocolate. Today, I am going to show you how to apply an edible image on a dried royal icing sugar cookie.
Start by using high quality icing sheets from www.icingimages.com or if you have your own printer you can print your own.
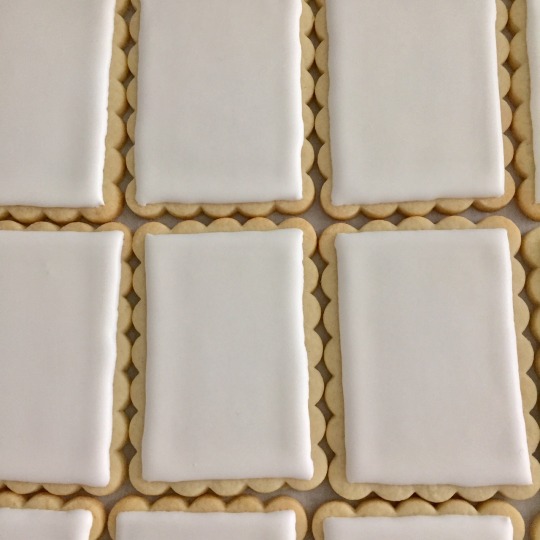
1. Start with a dry royal icing cookie
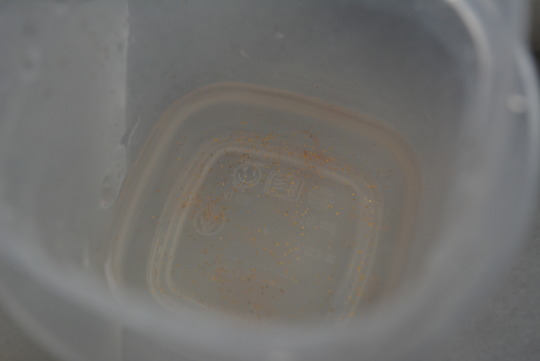
2. Mix a small amount of light corn syrup and water together to make a “glue” for you to adhere your frosting sheet to your dried royal icing cookie. (a little disco dust is in mines)
3. Use a clean and sanitized brush and apply a thin layer of your glue mixture to your dried royal icing cookie. (DO not apply glue mixture outside of your frosting sheet) iPhone
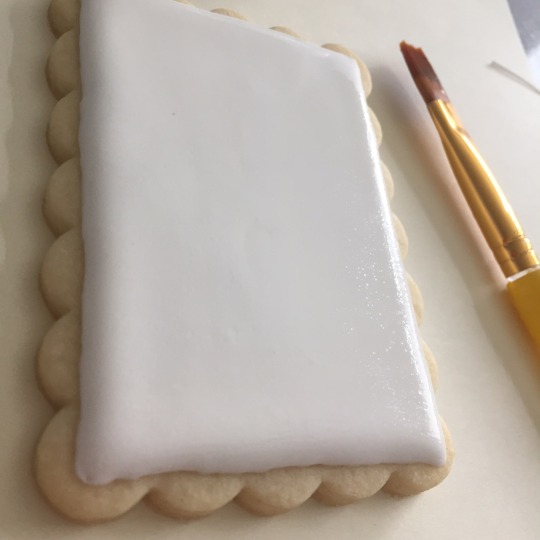
Apply a very thin layer, you don’t need much.
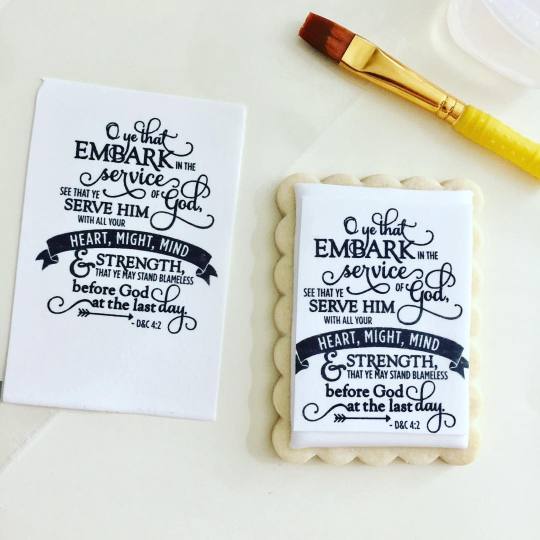
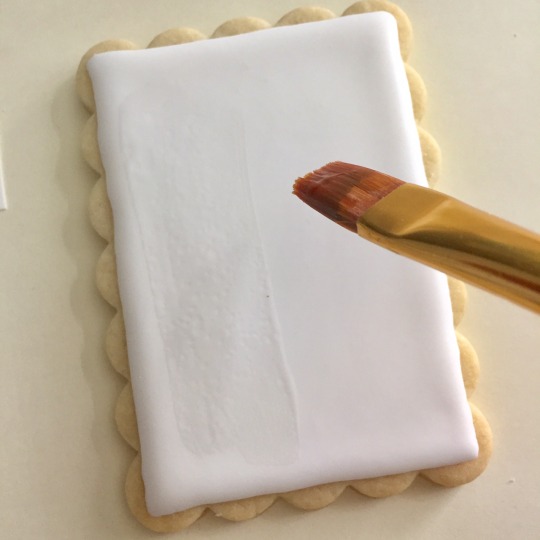 4. Be sure your edible image is already cut to the size you need before you apply your edible glue to your cookie. I always print an example on a regular sheet of paper to make sure of size and accuracy.
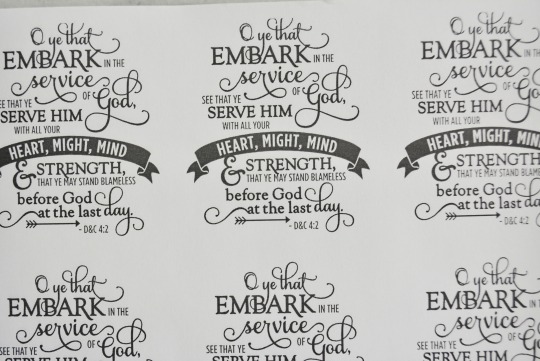
5. When applying your edible image lay it down on your cookie and press lightly from the middle and working your way to the edges to push any air bubbles that could be trapped.
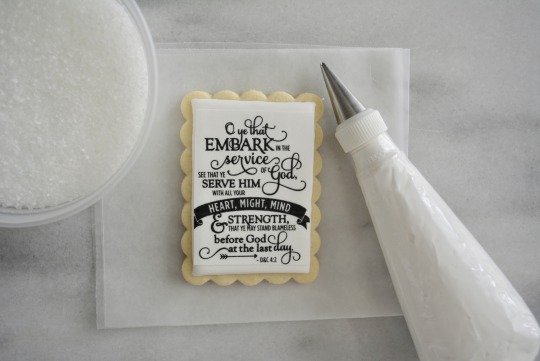
6. Apple a border I used Ateco decorating too number 15, I started with a 13 and that was way to small so I needed to go larger, but not to large therefore I settled with the Ateco number 15.
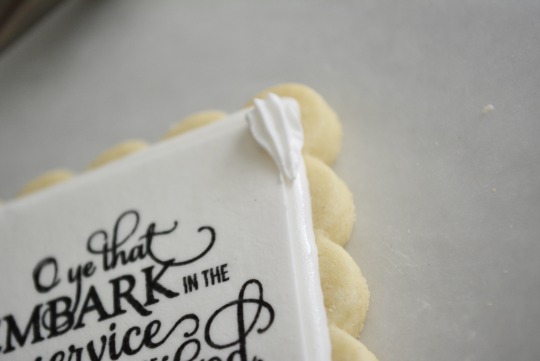
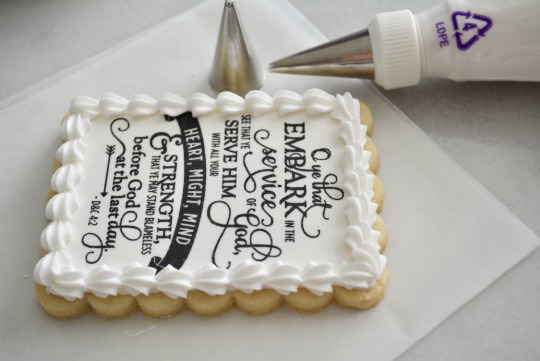 Decorating tip Ateco #13, apple it half way on your frosting sheet and on your royal iced cookie.
 7. Apple any sprinkles while your icing is wet or leave as is
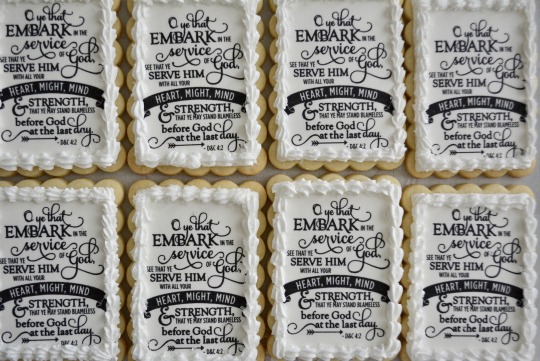
Take PHOTOS :) I used a NIKON D5200 I love it.

